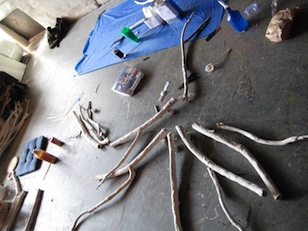
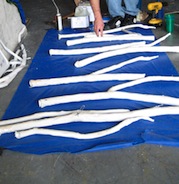
How to fabricate branches - Filling with foam
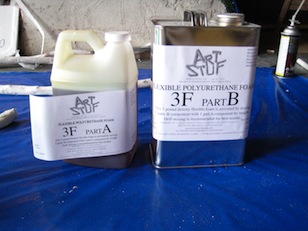
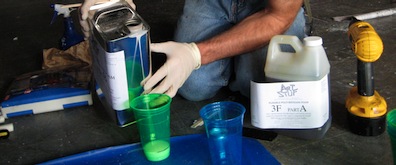
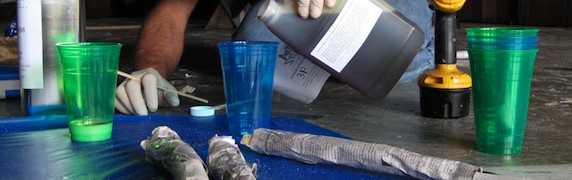
Foaming. We used a 3-pound density foam we got from Douglas and Sturgess. The (Nerf-ish) foam is used as a filler to give the branches more body and a bounce-back rigidity. It is a two-part goo that when mixed together (2:1 ratio) chemically react, expanding then hardening.
The foam sticks to anything slightly porous that's why it's such a good combo for the flexible slip.
Using pre marked plastic cups seems to be the best receptacle to mix/measure the stuff, stiring with a disposable chopstick. Be sure to pour part 'A' into part 'B'. Part 'A' is thinner so you can get to stirring quicker, making a longer working time. You kinda have to experiment with the amount needed, a little goes a good way.
Always use proper safety equipment (gloves, goggles, guns, magic, masks) to make sure you don’t knock yourself out or end up sticking to something unpleasant.
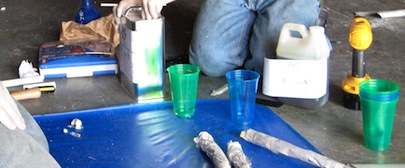
It is a good idea to mask the branches, so that you don't have to clean the spill over off the exterior of the branch. Tape and newspaper is cheap.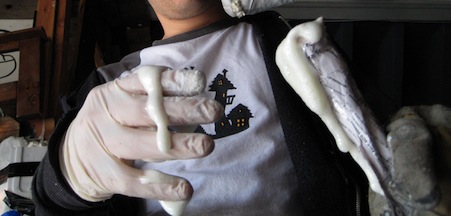
Once the foam compound is poured into the hollow branches, we waited for the foam to rise then plugged the open end. Your thumb (when in gloves) works best. This forces the foam to expand into all the crevasses of the branches. A little pressure will build up, so it is good to release the plug from time to time. You don’t want the foam to split the seams of the branches.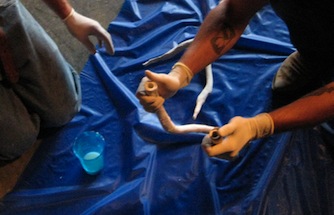
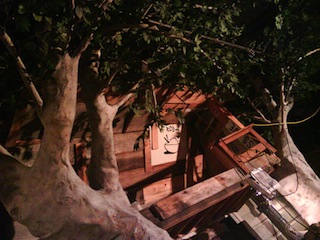
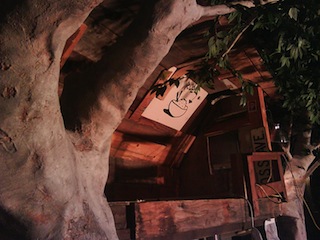
After this, you mount the foam-filled branches to the tree structure (which you have built prior to making branches). You start working out your details with paint (brushes, airbrush, or rag). Coat it with a flexible polyurethane to seal the paint and prevent it from rubbing off. Eventually this is the result:
Real tree: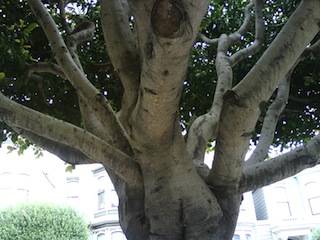
Fake trees: